> For the complete documentation index, see [llms.txt](https://documentation.2pintsoftware.com/llms.txt). Markdown versions of documentation pages are available by appending `.md` to page URLs; this page is available as [Markdown](https://documentation.2pintsoftware.com/deployr/reference/step-definitions/enable-bitlocker.md).
# Enable BitLocker
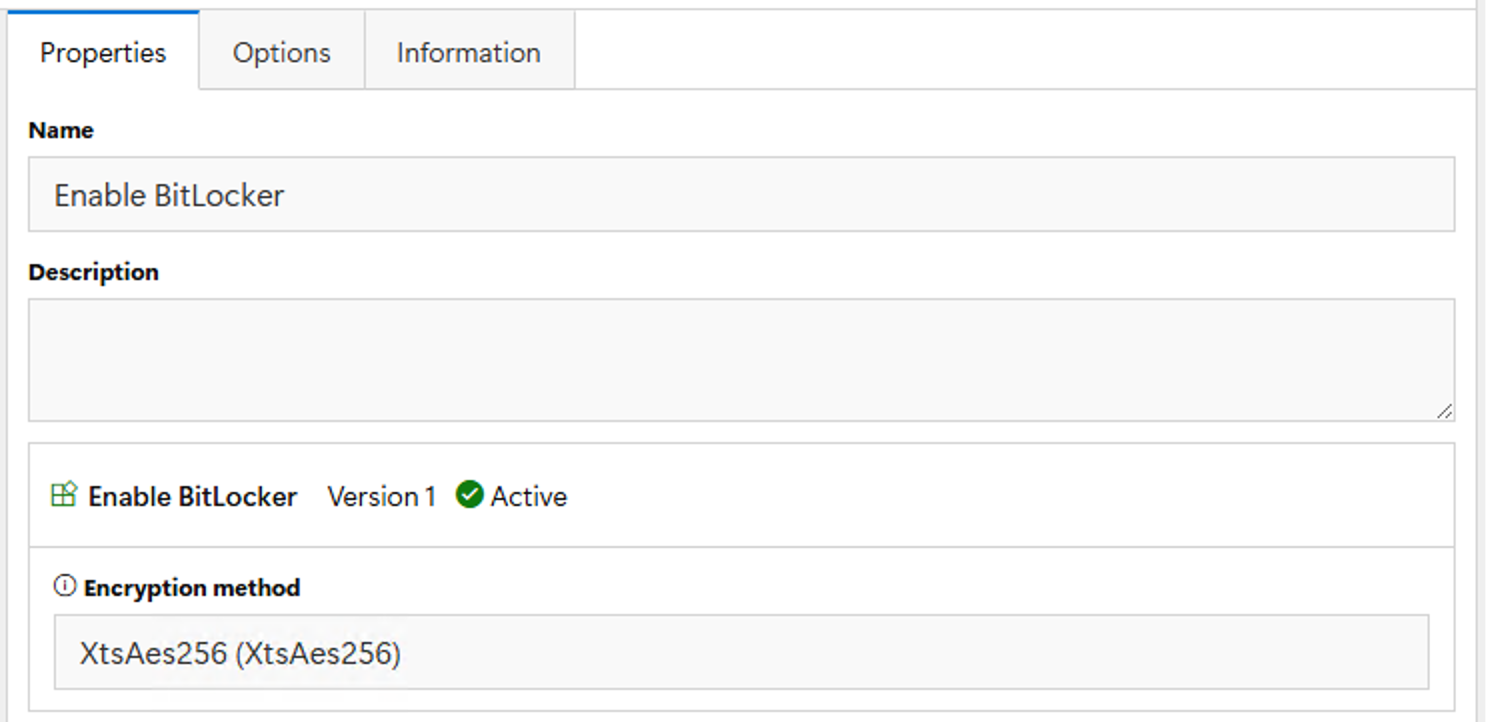
The **Enable BitLocker** step enables BitLocker on the current computer and encrypts the operating system volume using the specified configuration.
### Options
| Option | Description |
| ------------------------ | --------------------------------------------------------------------------------------------------------- |
| Encryption method | **XtsAes256** (default), **XtsAes128**, **Aes256**, or **Aes128**. |
| BitLocker PIN | Optional PIN for a TPM+PIN protector, entered at startup. If not specified, only a TPM protector is used. |
| Use full disk encryption | Encrypts the entire volume instead of only the used space. Default: `false`. |
By default, only the used space on the volume is encrypted. Turn on **Use full disk encryption** to encrypt the entire volume instead. Full disk encryption takes longer, but it also covers data that was previously deleted from the free space.
If the volume is already encrypted or is still being encrypted, this step has no effect. To change the encryption method, you must fully decrypt the drive first.
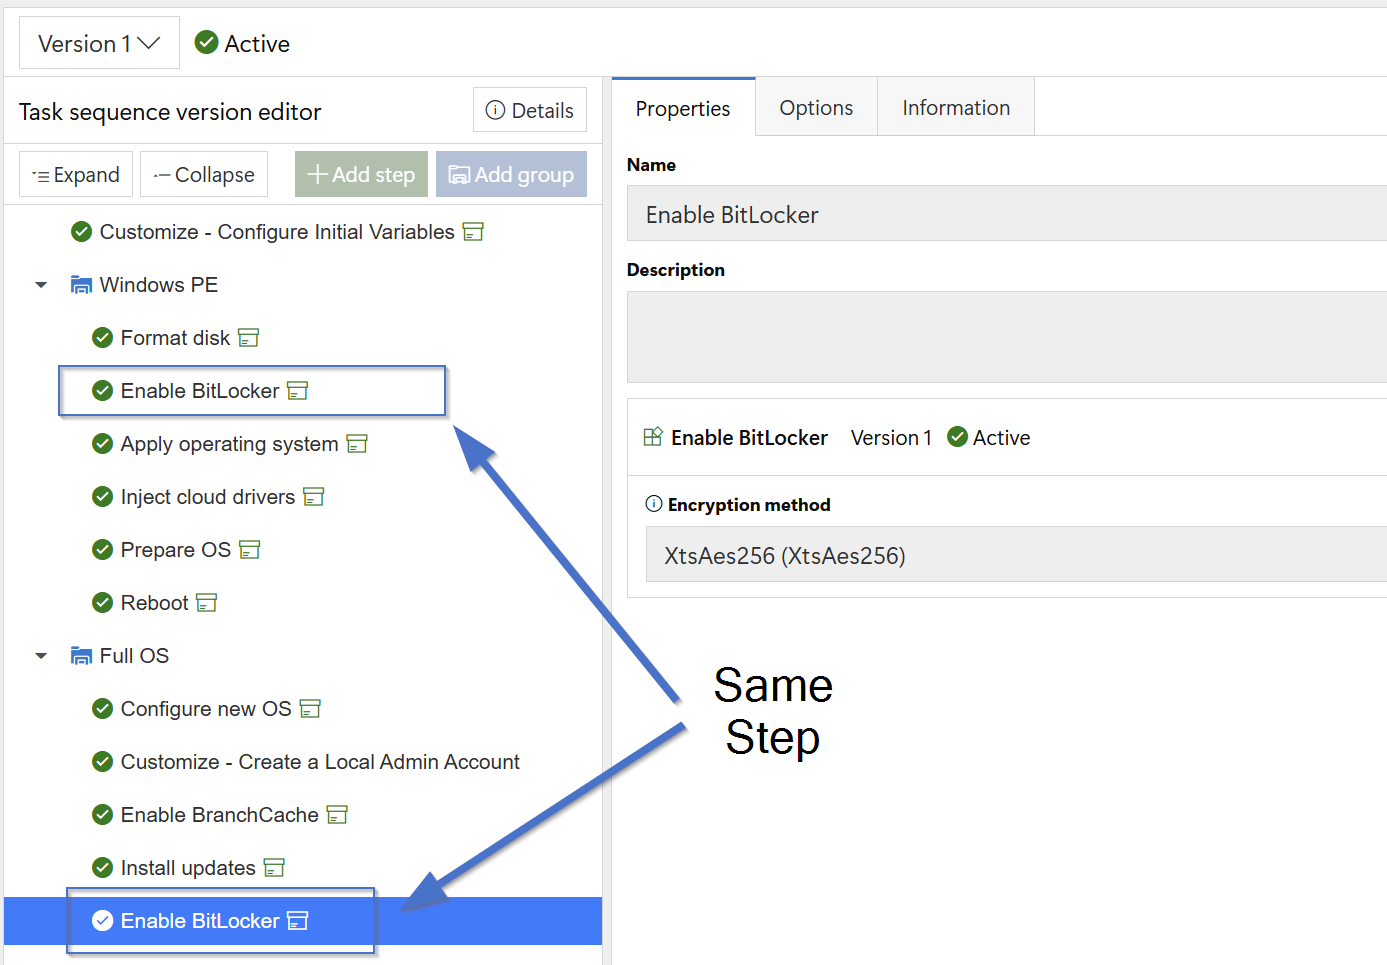
Use this step twice in your task sequence:
* First in WinPE, right after your **Format disk** step, to pre-provision BitLocker
* Second in the full OS, near the end of your task sequence, to enable the protectors
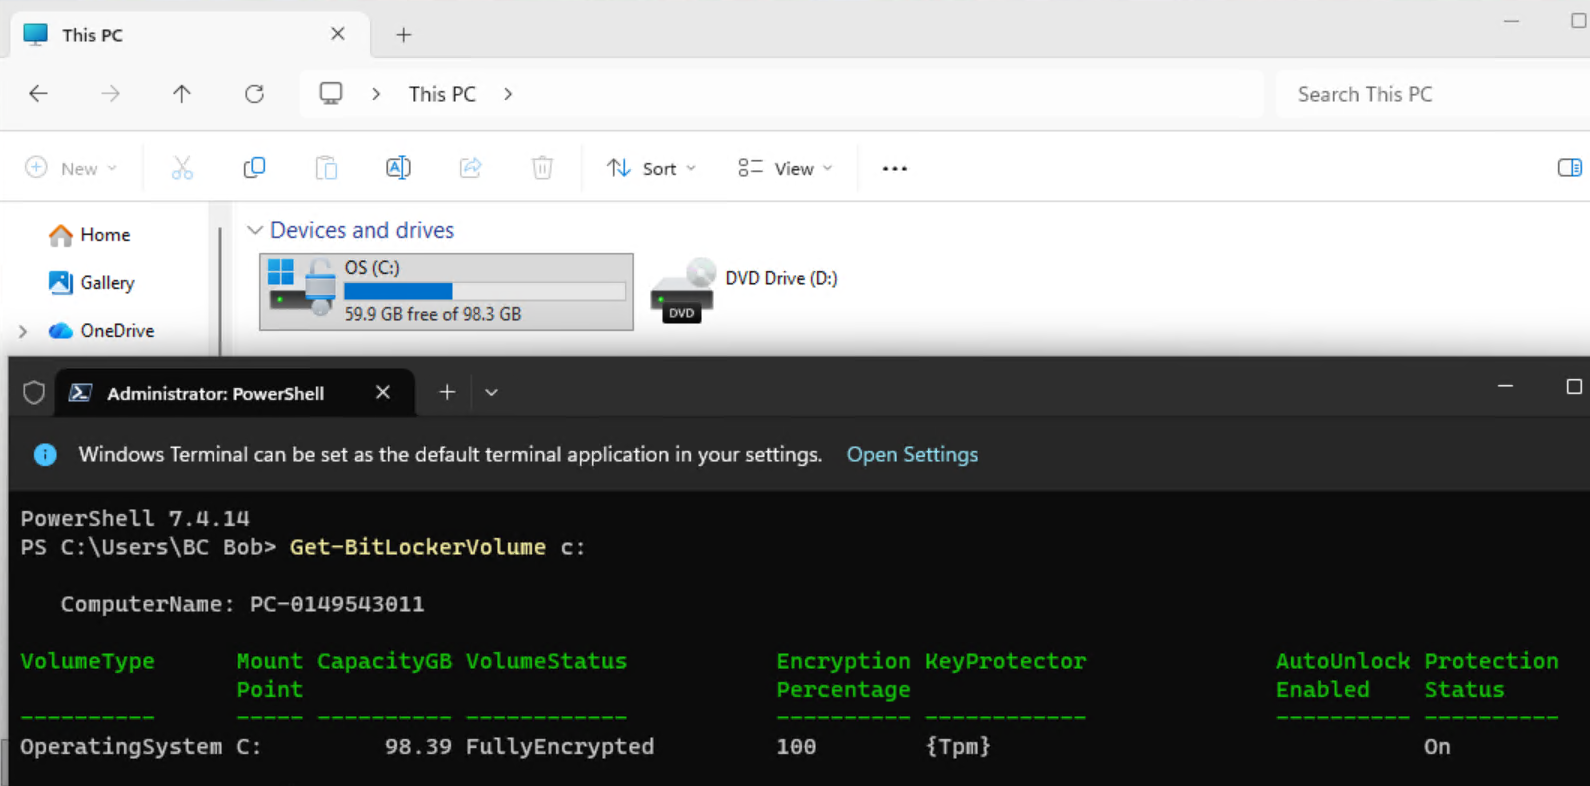
After the Task Sequence:
---
# Agent Instructions
This documentation is published with GitBook. GitBook is the documentation platform designed so that both humans and AI agents can read, navigate, and reason over technical content effectively. Learn more at gitbook.com.
## Querying This Documentation
If you need additional information that is not directly available in this page, you can query the documentation by asking a question.
Perform an HTTP GET request on the following URL with the `ask` and `goal` query parameters:
```
GET https://documentation.2pintsoftware.com/deployr/reference/step-definitions/enable-bitlocker.md?ask=&goal=
```
`ask` is the immediate question: it should be specific, self-contained, and written in natural language.
`goal` is what the user is ultimately trying to achieve, the reason they need the answer. Sharing it helps GitBook give you a better, more relevant answer. A goal is most helpful when it describes the outcome the user wants rather than restating the question. For example, with `ask=how do I create an API token`, a goal like `automate deployments from our CI pipeline` lets GitBook tailor the answer to that use case.
The response will contain a direct answer to the question and relevant excerpts and sources from the documentation.
Use this mechanism when the answer is not explicitly present in the current page, you need clarification or additional context, or you want to retrieve related documentation sections.