> For the complete documentation index, see [llms.txt](https://documentation.2pintsoftware.com/llms.txt). Markdown versions of documentation pages are available by appending `.md` to page URLs; this page is available as [Markdown](https://documentation.2pintsoftware.com/deployr/deployr-community/installation.md).
# Installation
The installation process for DeployR Community is simple: launch the installer, accept the license terms, provide a few configuration details, and let it handle the rest.
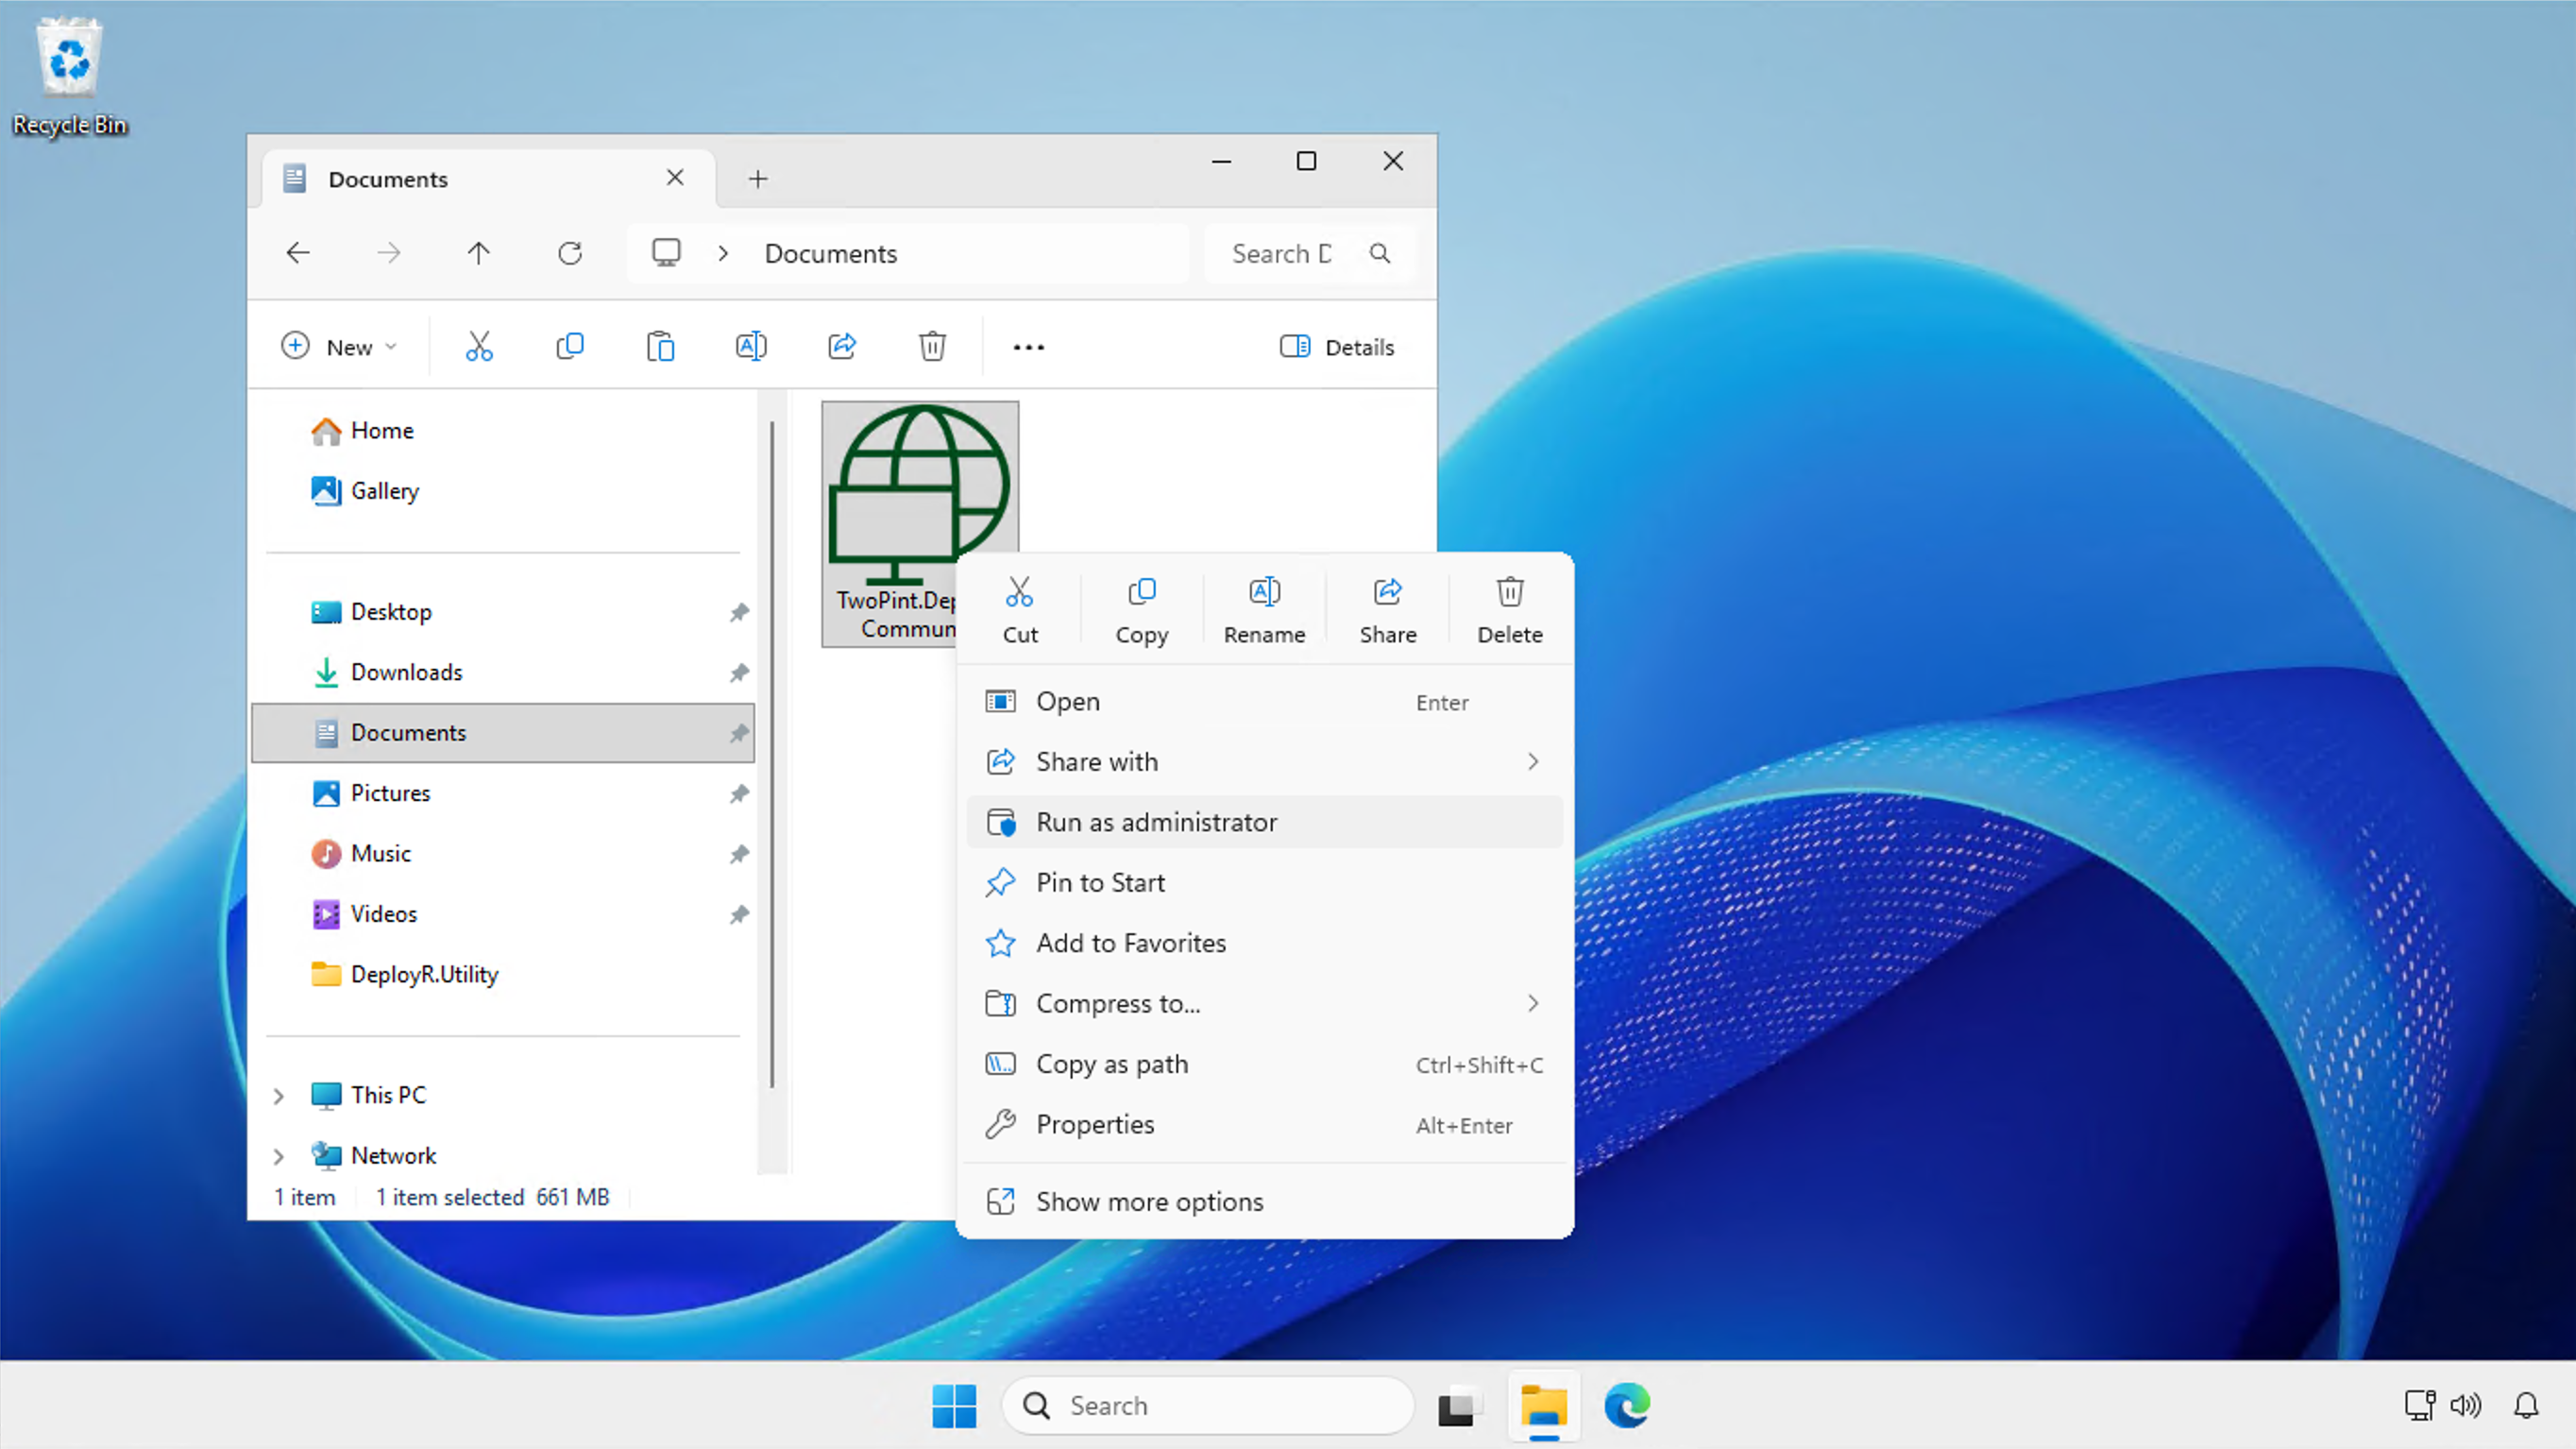
Extract `TwoPint.DeployRCommunity.exe` from the downloaded ZIP file, then run it with elevated privileges:
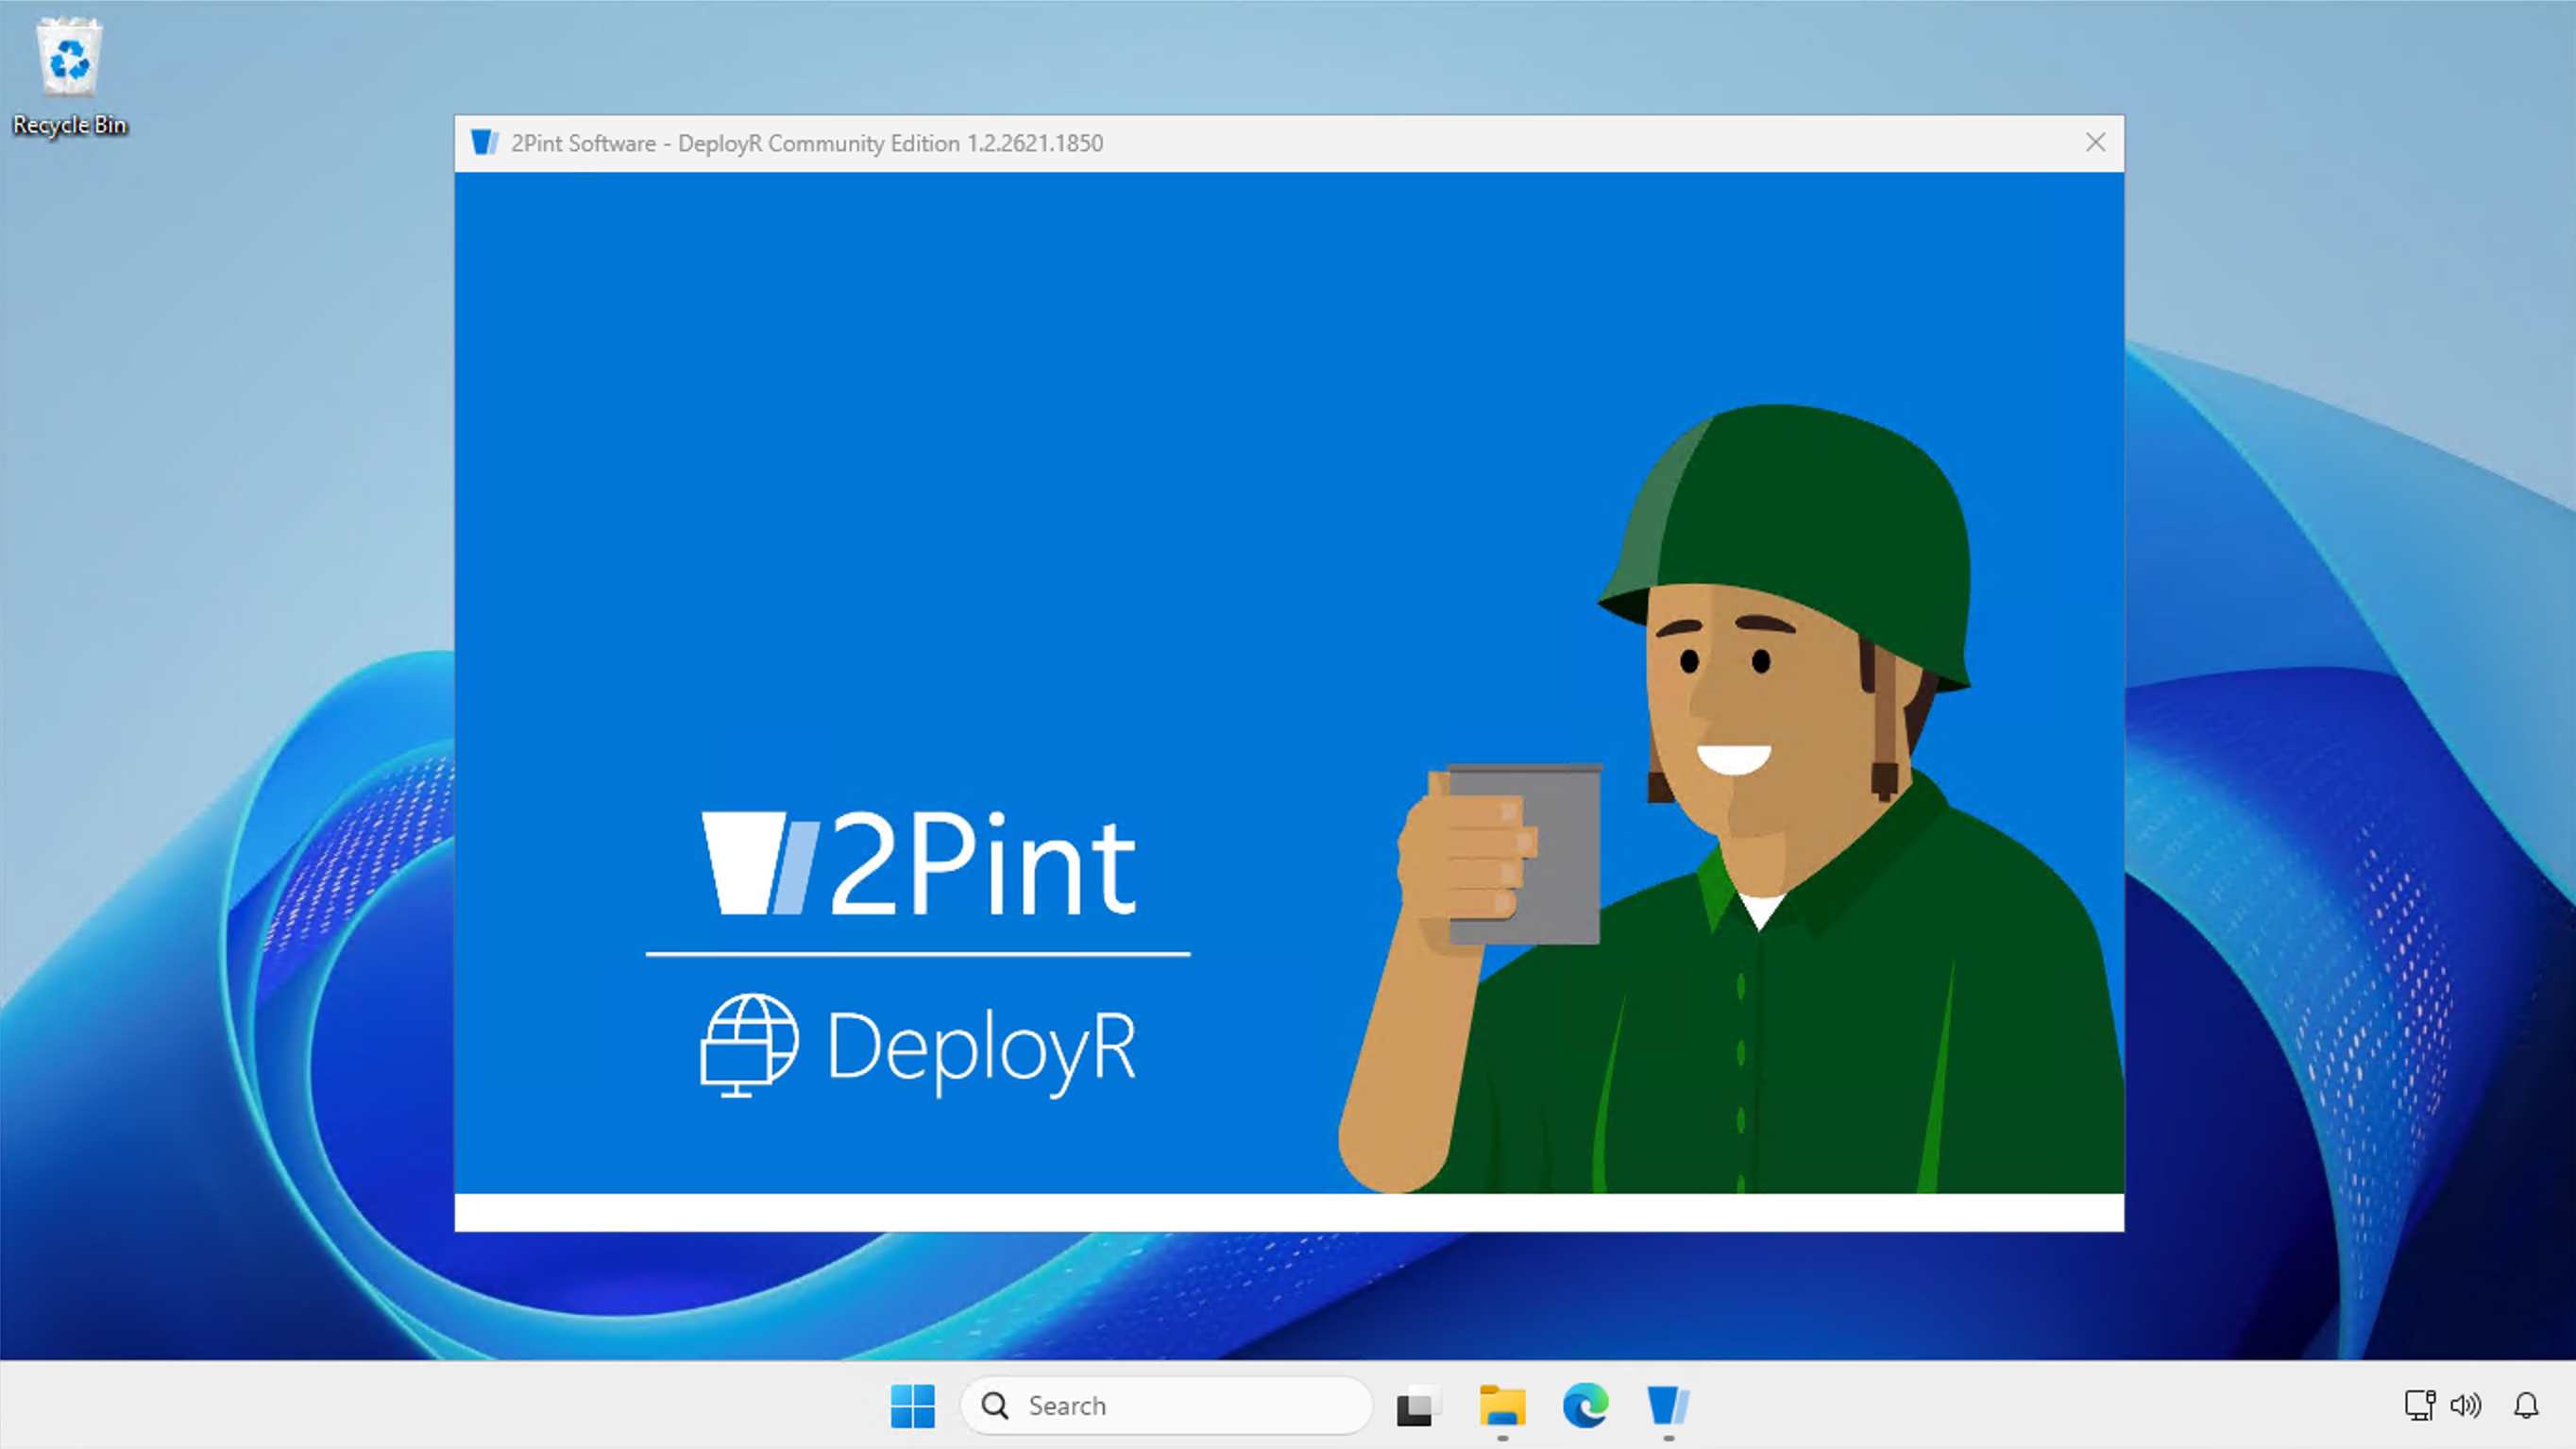
Initially, you will see a splash screen:
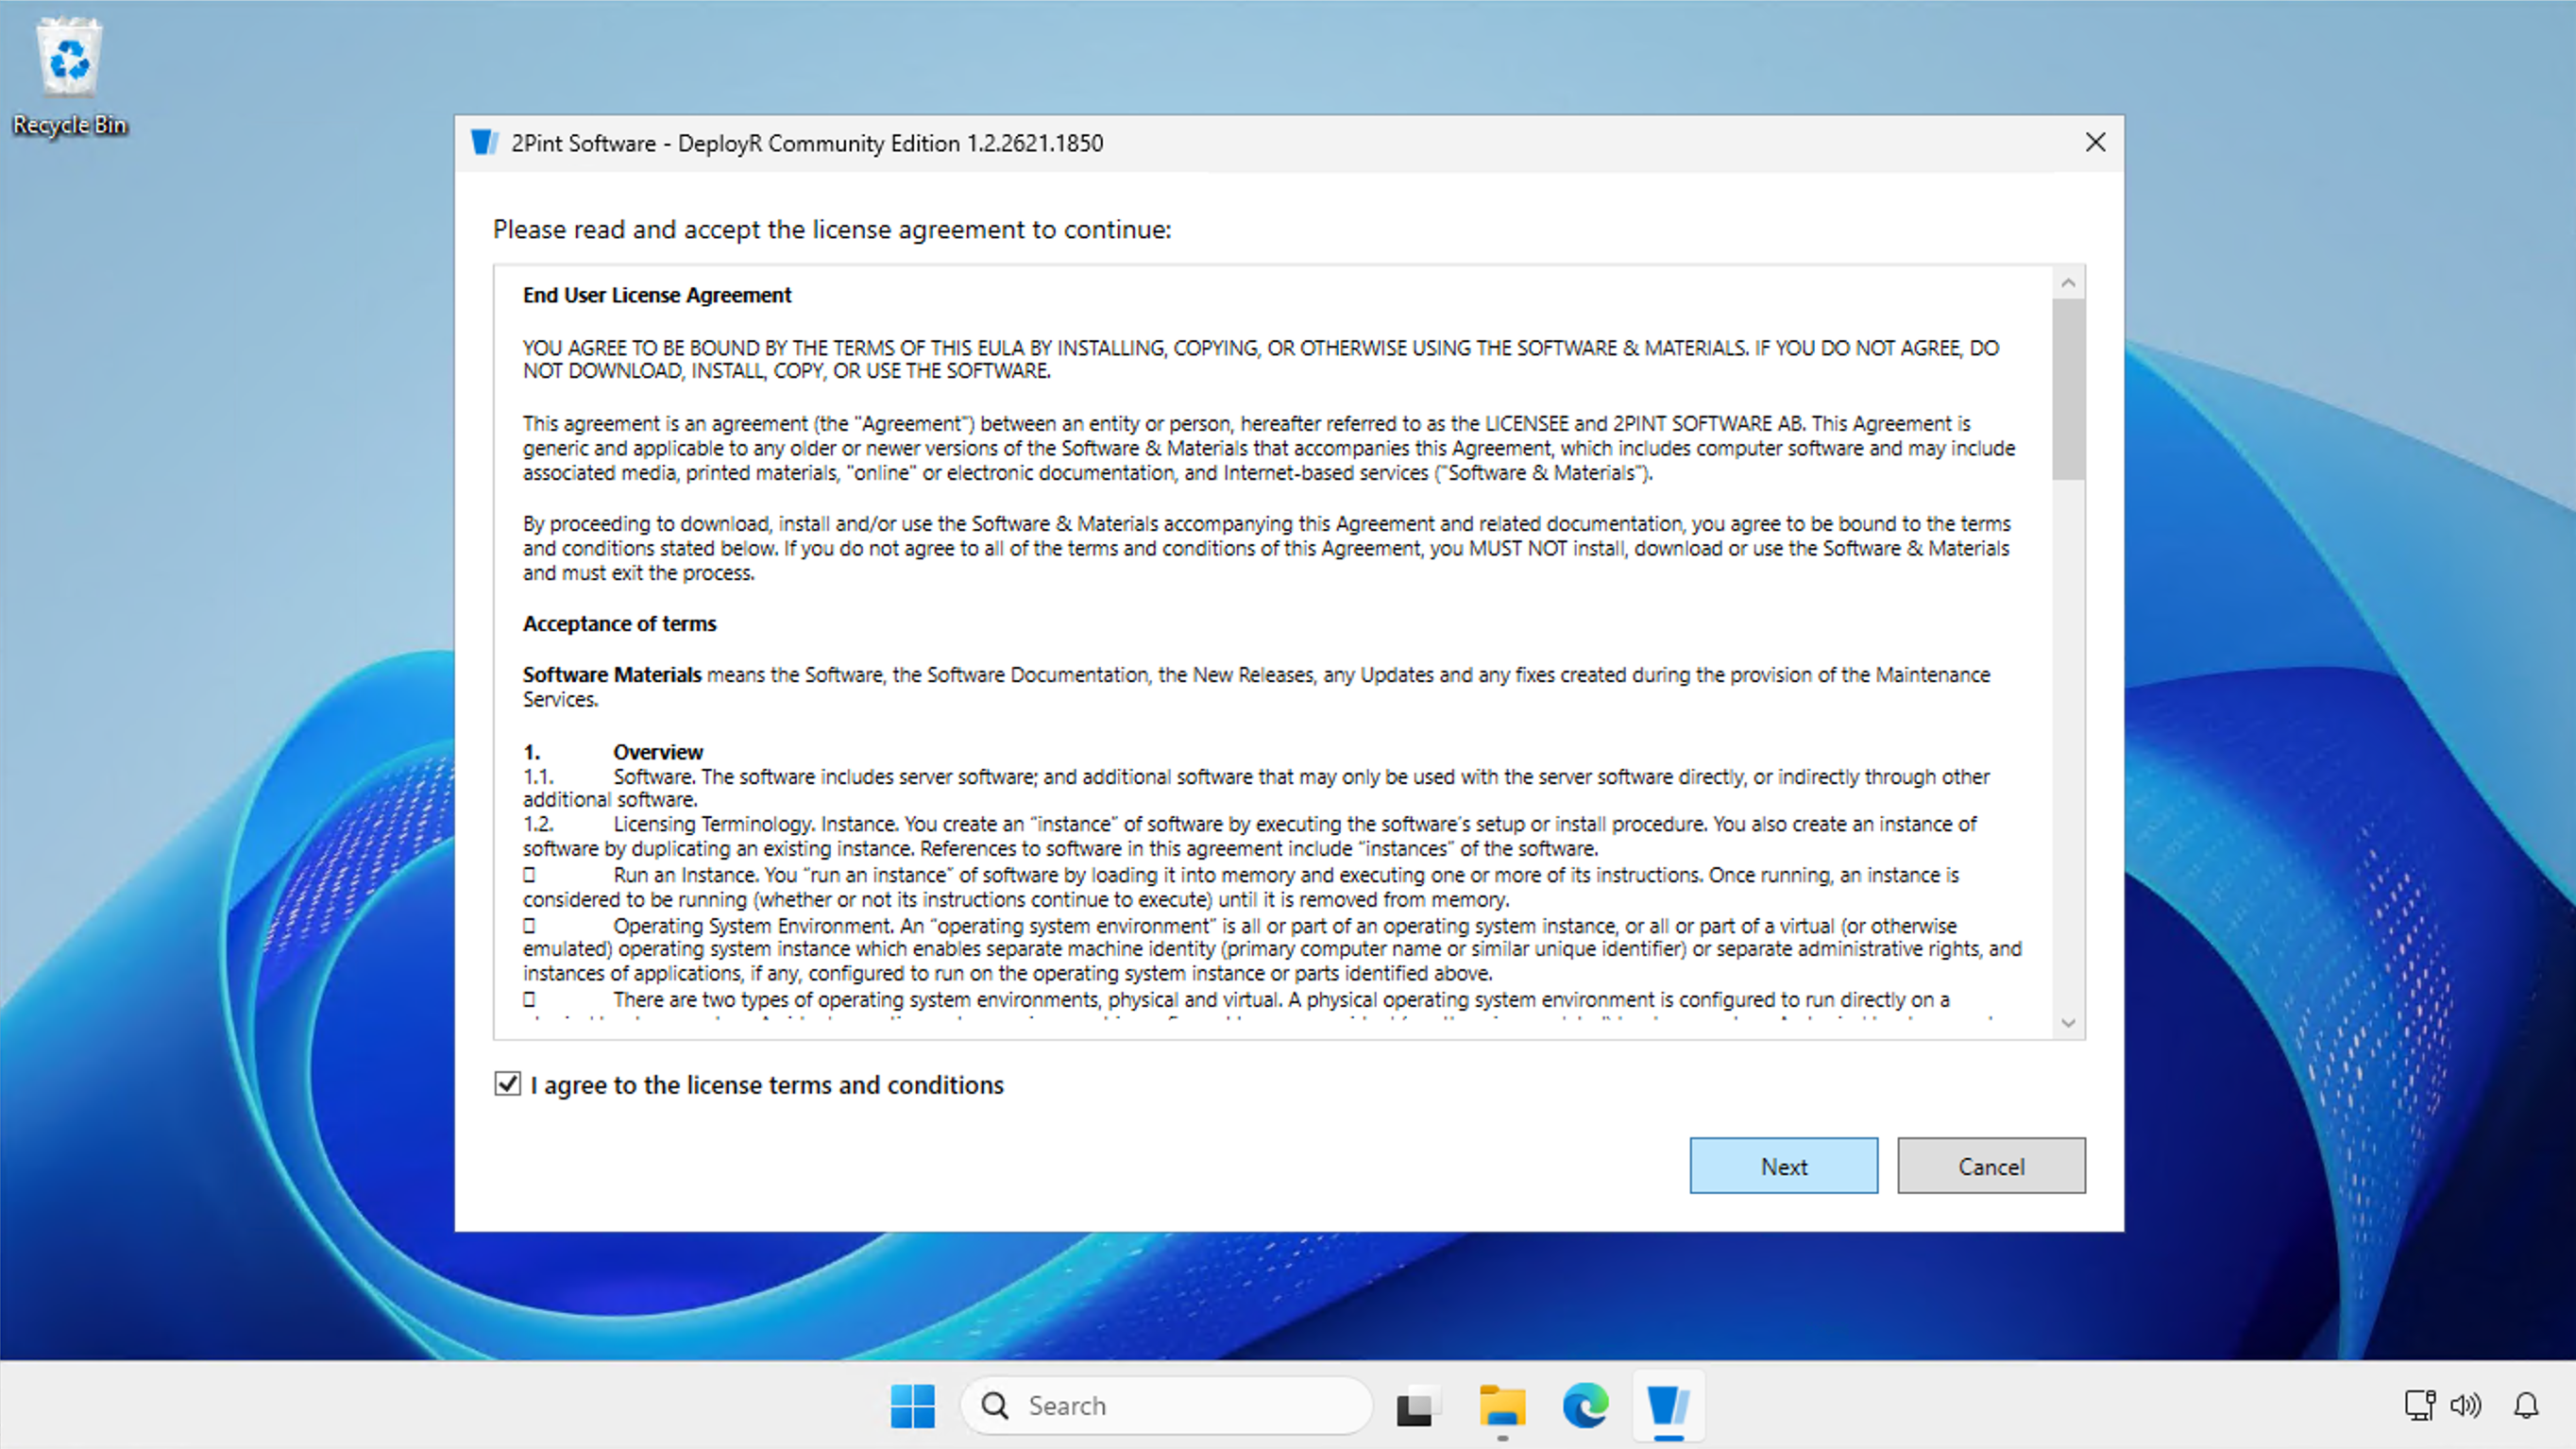
Next, review the license terms, select **I agree to the license terms and conditions**, and click **Next** to continue.
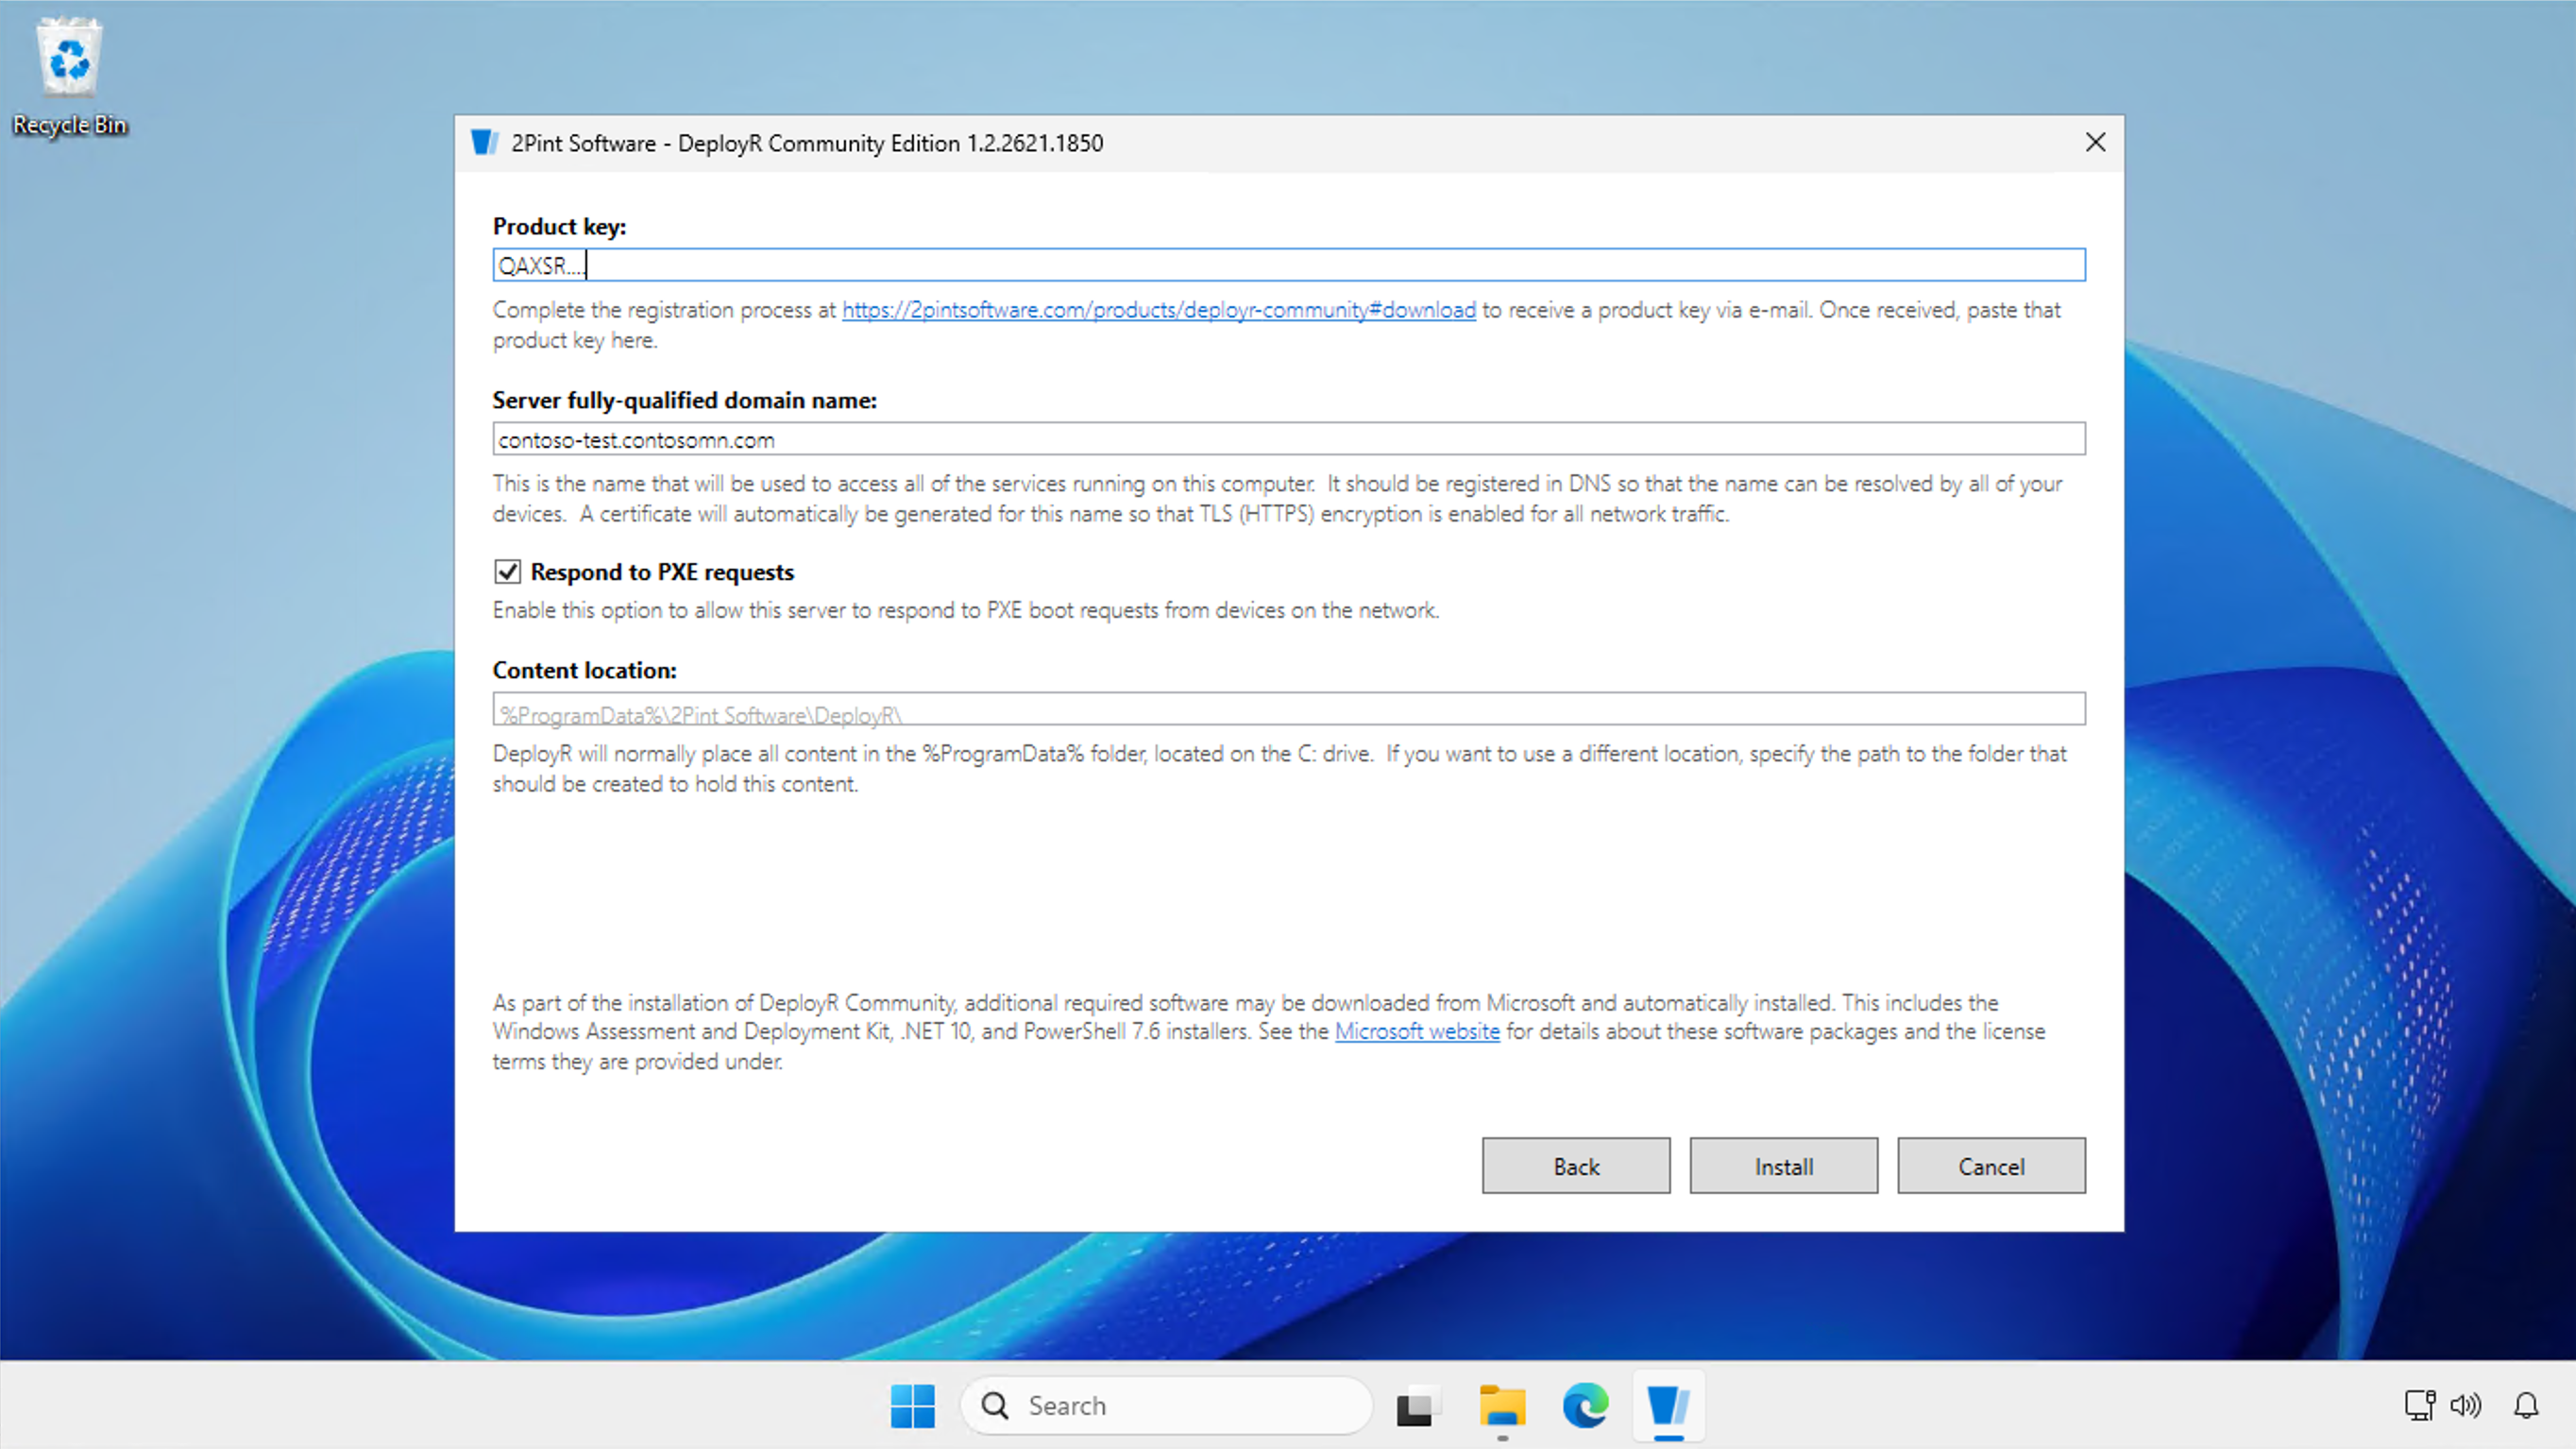
Finally, configure DeployR Community as required:
* Specify the product key that you were provided by e-mail after completing the registration process.
* Specify the fully qualified domain name (FQDN) for this computer.
* Choose whether to respond to PXE requests or not. If you have an existing PXE solution (such as WDS or Configuration Manager), you may not want to enable this option yet. If you uncheck the "Response to PXE requests" option, the 2PXE service will be installed but it will not respond to boot requests until you enable that option later in the "Configure 2PXE" configuration editor app.
* Choose a location to be used for DeployR content or accept the default. By default, all of the content will be placed in "C:\ProgramData\2Pint Software\DeployR" but you can choose another location or drive if you prefer. (This can be moved later by copying it to a new location and then using the "Configure DeployR" configuration editor app to tell it where to find it, but it is easier if you choose the desired location from the start.)
After configuring these options, click **Install** to start the installation.
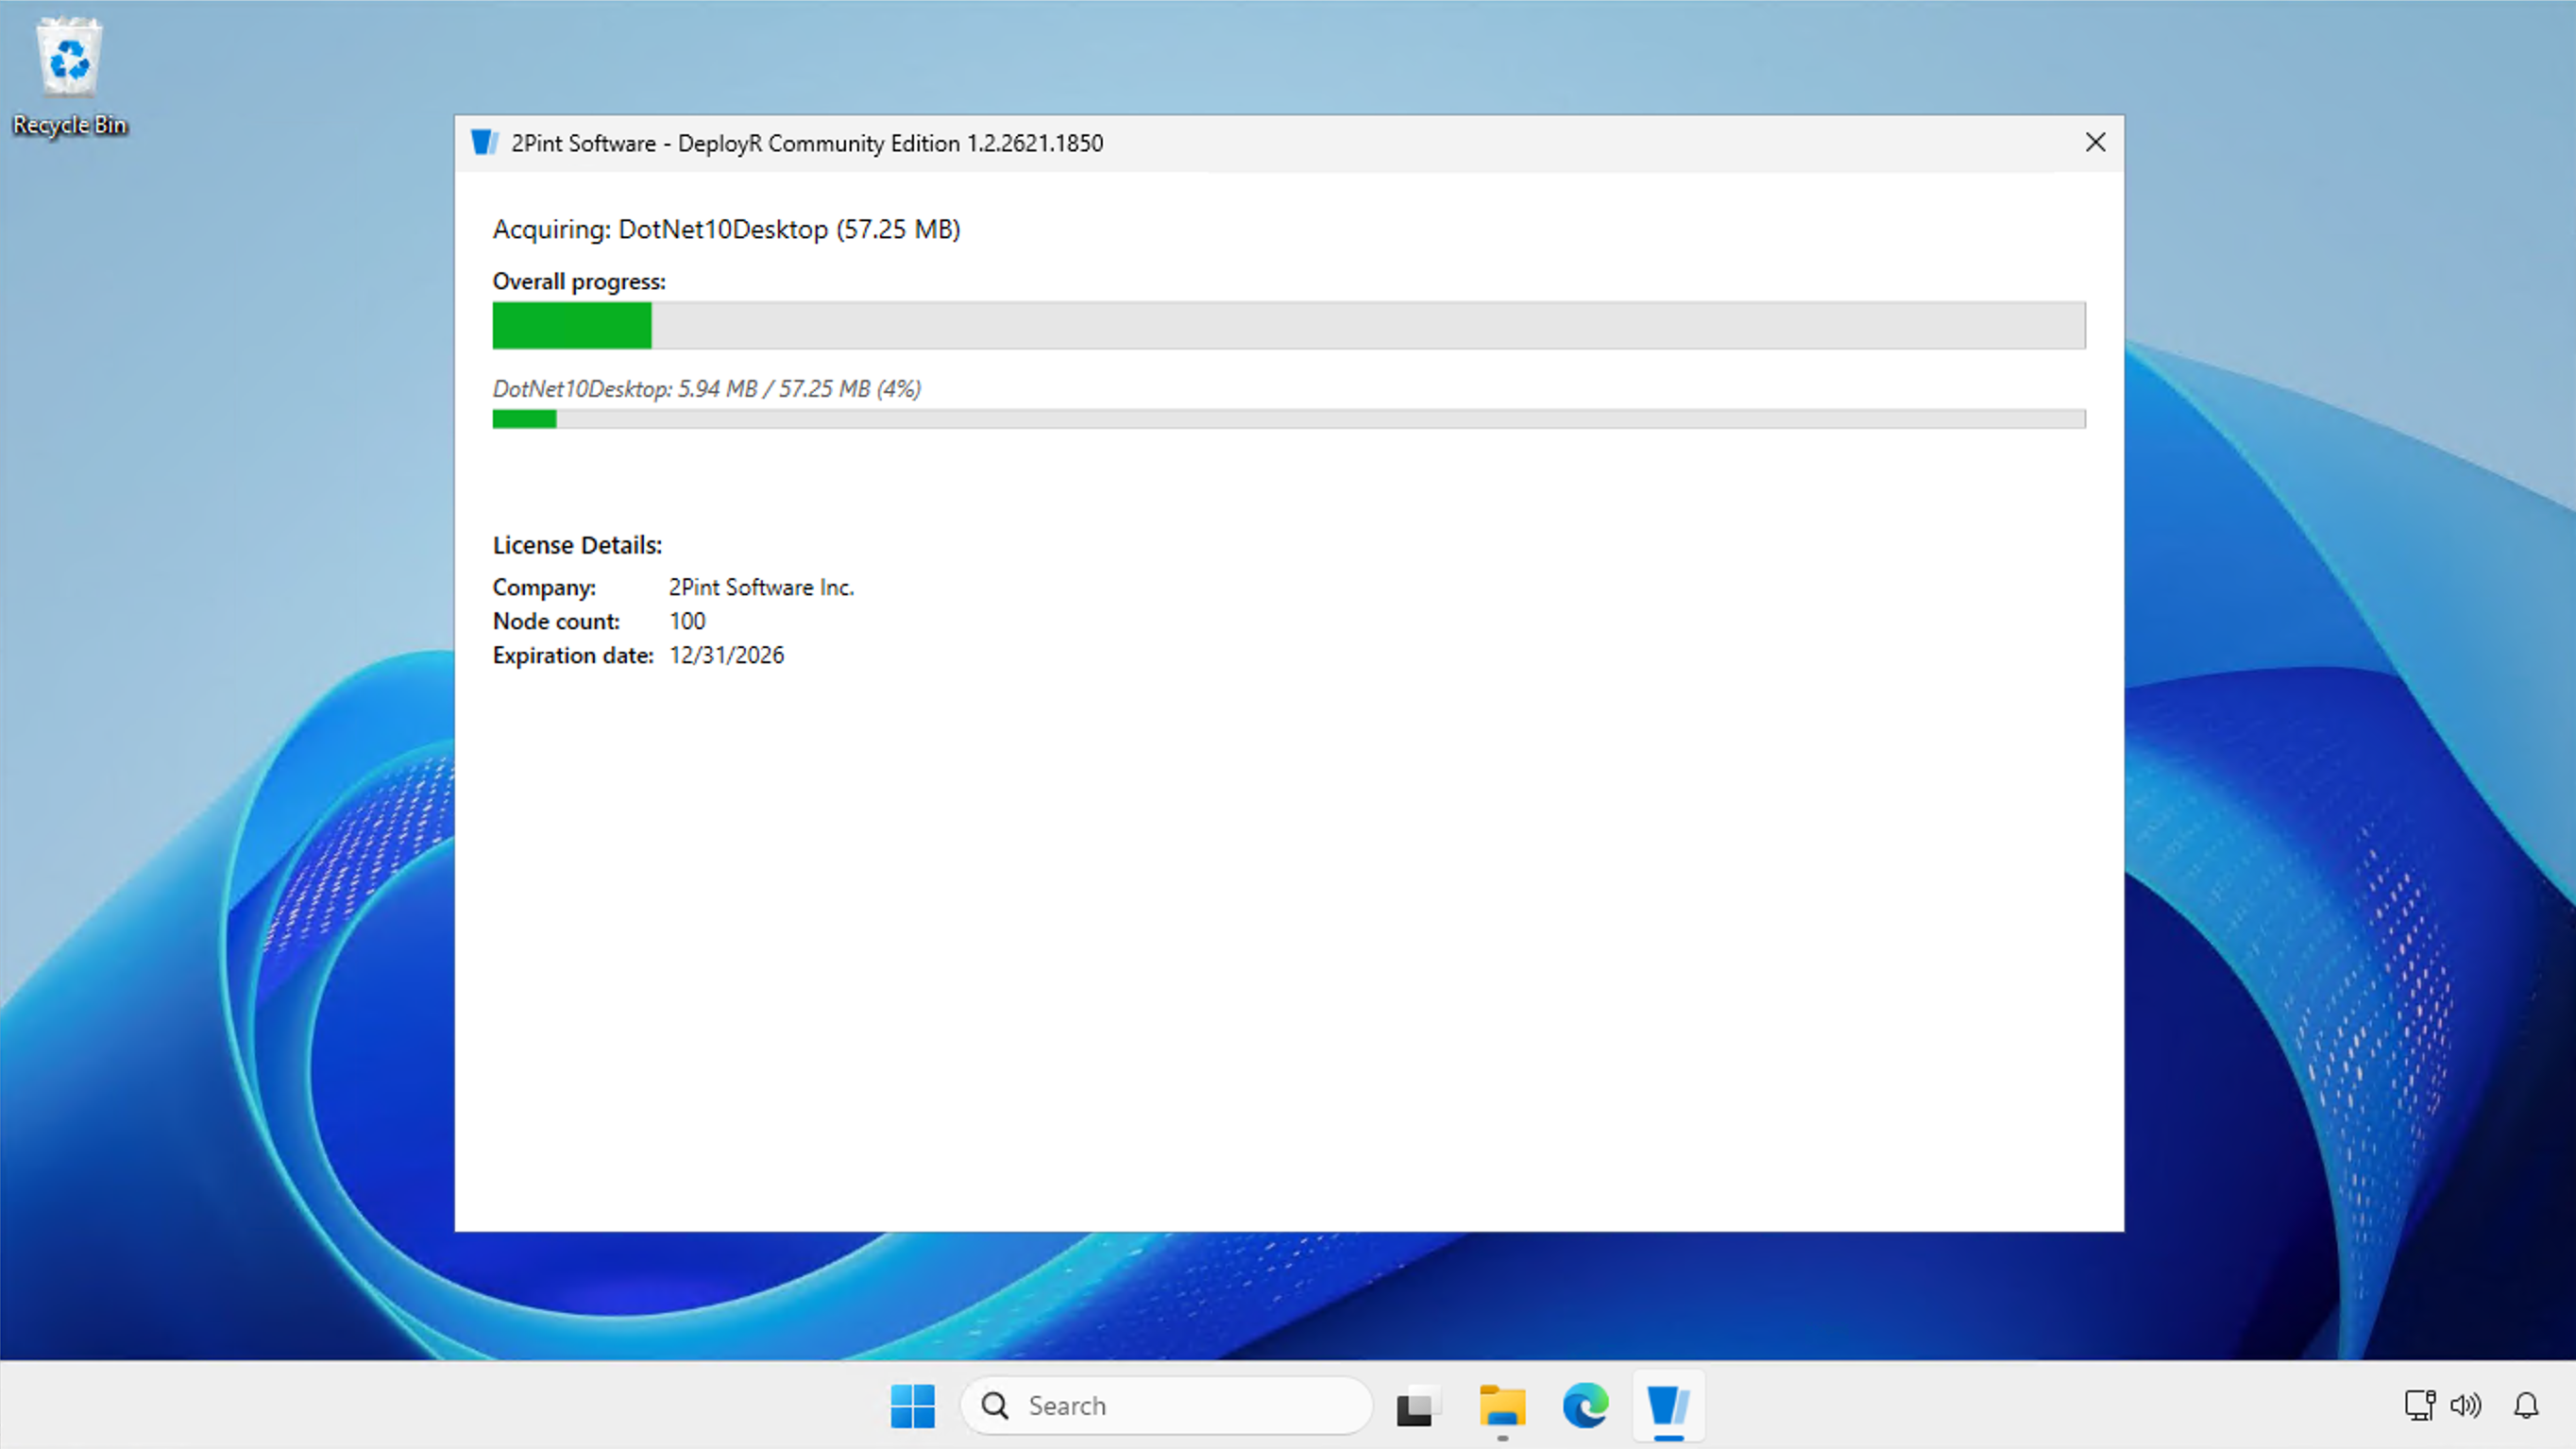
During the installation process, all the required Microsoft dependencies will automatically be downloaded and installed if they are not already present:
* .NET 10.0.14
* PowerShell 7.6.9
* Assessment and Deployment Kit, version 26100.2454
This may take some time, depending on your internet connection speed.
Once those dependencies are installed, the 2Pint Software products that make up DeployR Community are then automatically installed and configured:
* StifleR Server 3.1 (build .1006), providing infrastructure services to support the other products.
* StifleR Dashboard 3.1 (build .1006), providing the web-based portal for administering DeployR.
* 2PXE (build .623), providing iPXE-based PXE booting functionality.
* DeployR itself.
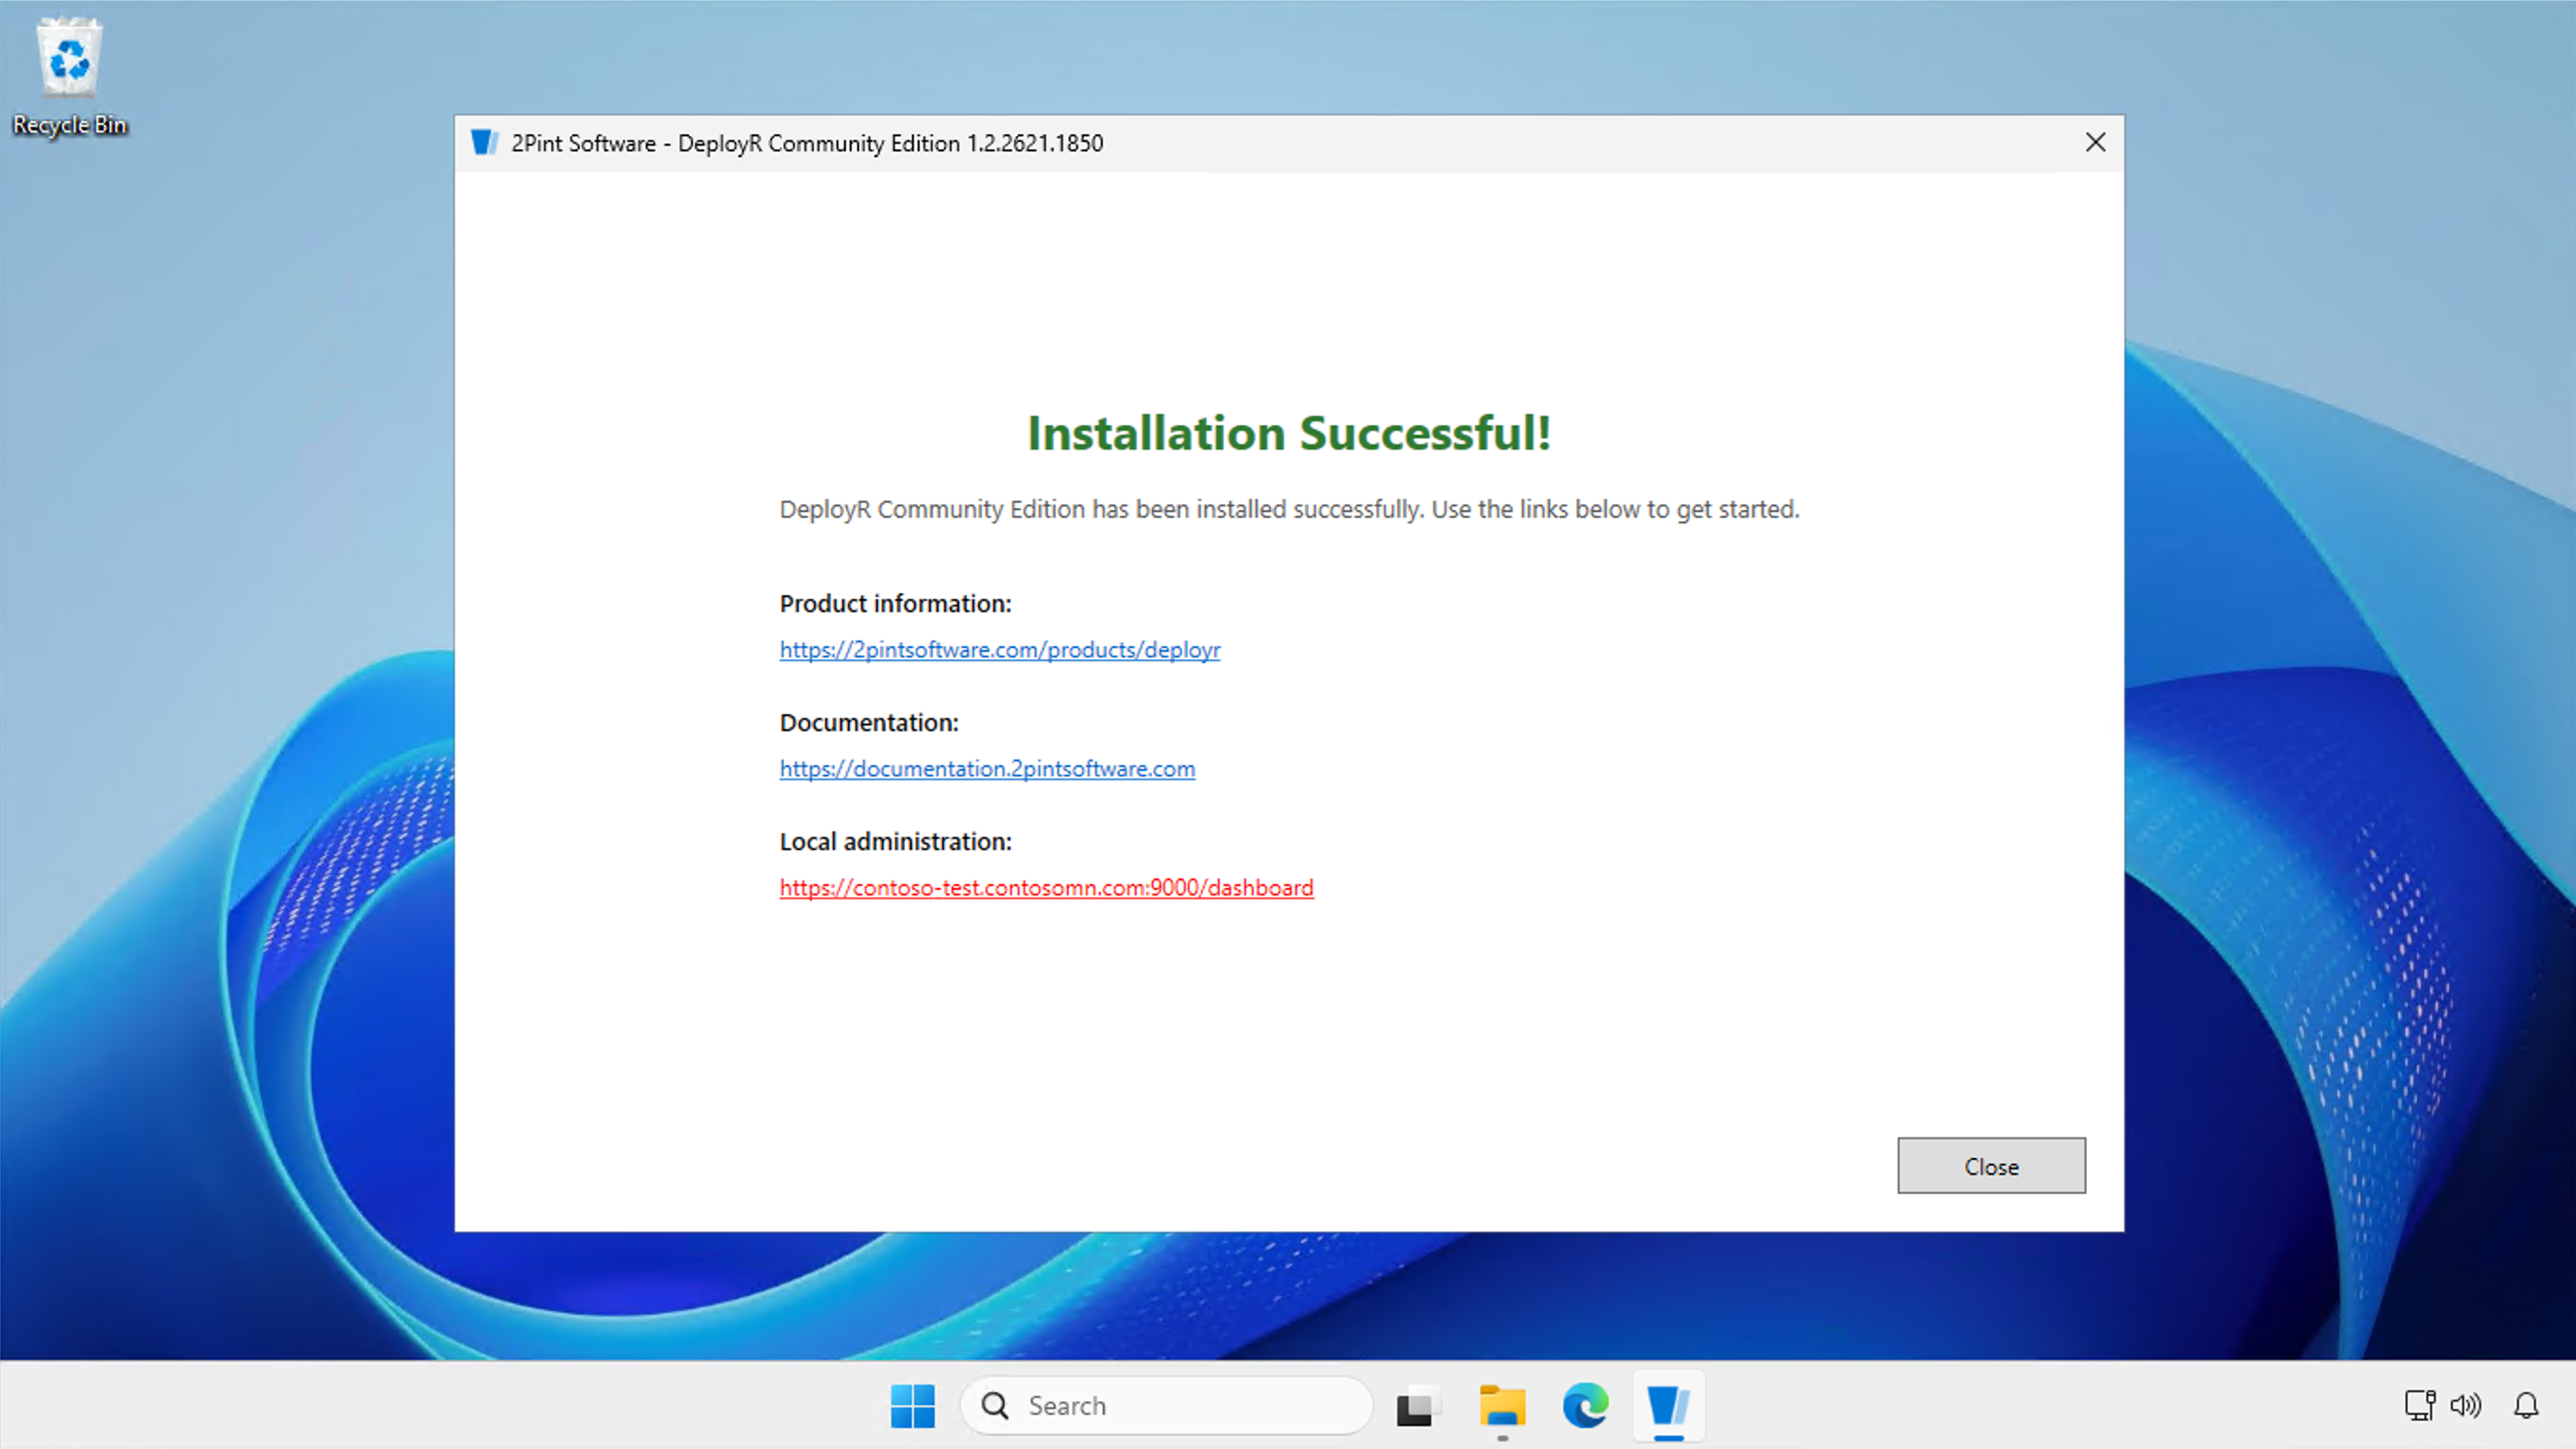
Once those installations are complete, click the link below "Local administration":
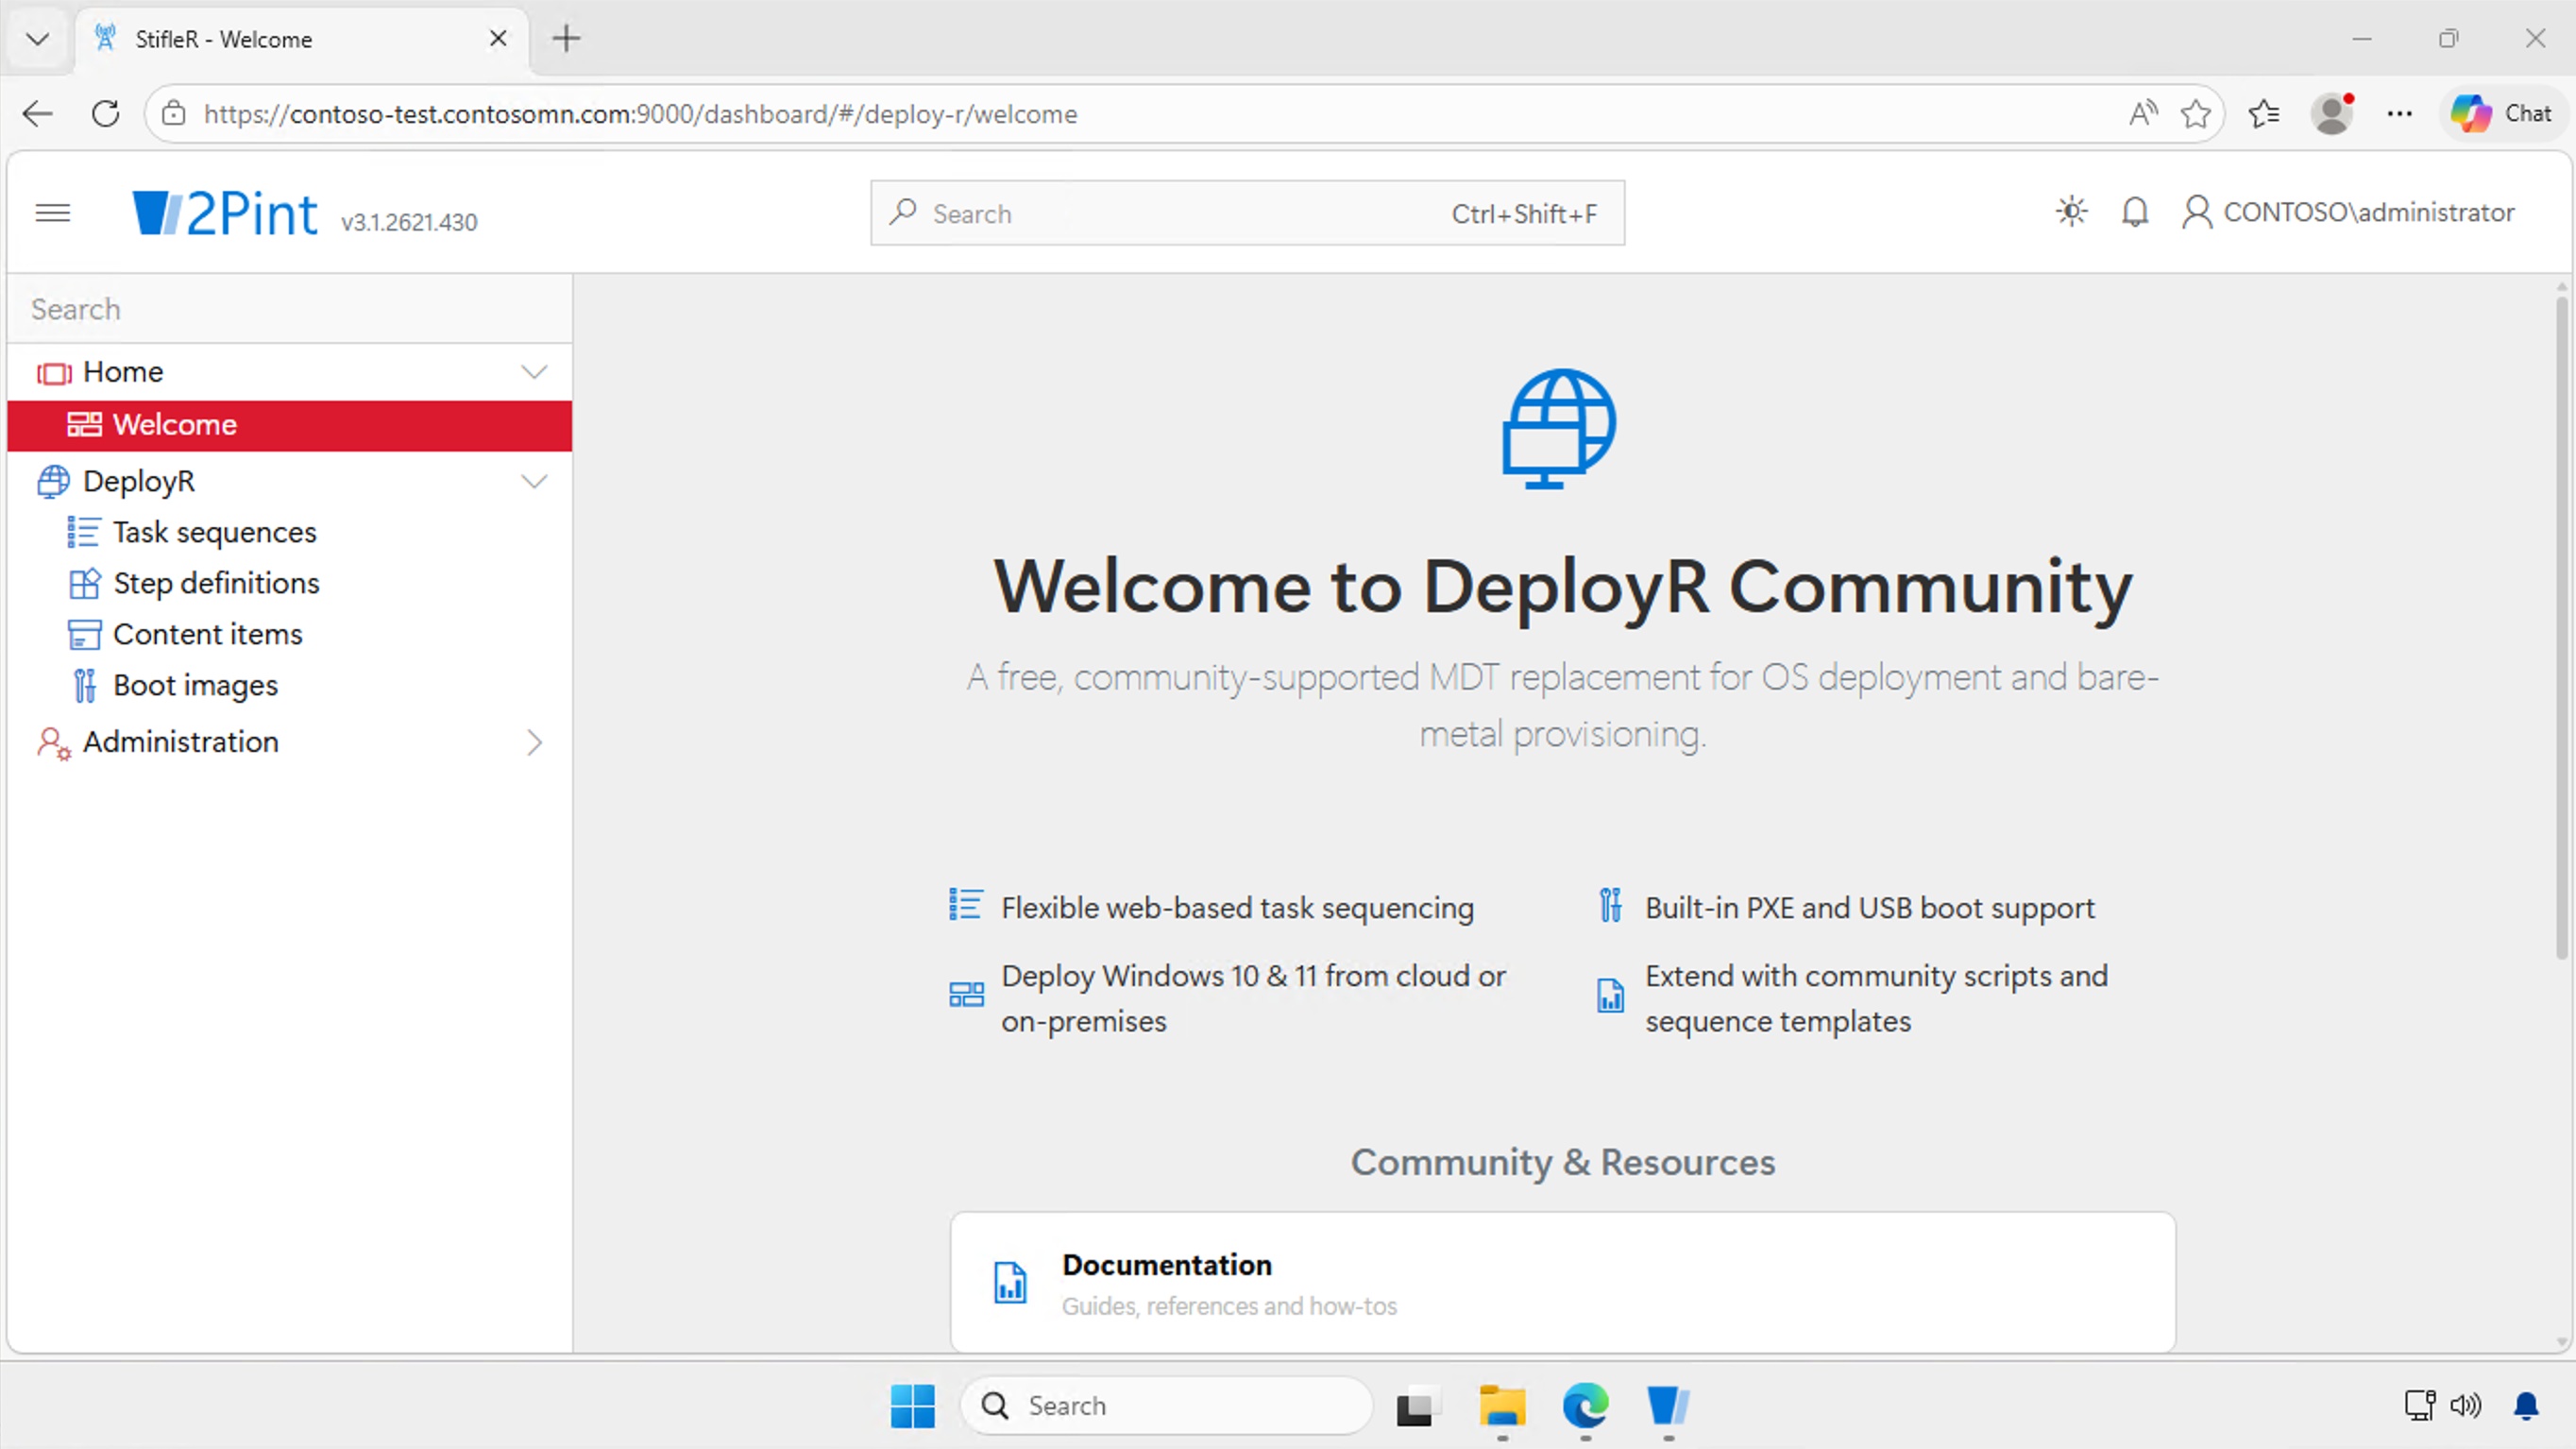
Authenticate to the dashboard if prompted. (You can avoid this prompt when using Edge if you add the domain name to the Local Intranet or Trusted Sites zones in Windows.) Once authenticated, the dashboard will appear:
Clicking on the nodes under "DeployR" will show the pre-created content that is provided with DeployR. If you see a message saying "Service is starting" do not be alarmed; the initialization process can take a few minutes. Refresh the page and you should be able to see a single task sequence, many step definitions, a number of content items, and two boot image definitions.
Congratulations, DeployR Community is now installed and configured. See [Post-installation configuration](/deployr/deployr-community/post-installation-configuration.md) for next steps.
{% hint style="info" %}
DeployR Community will be preconfigured with a passcode of "DeployR". This must be entered by anyone attempting to run a DeployR task sequence. This can be changed, or other security methods can be configured, by following the instructions in the [Securing](/deployr/deployr-enterprise/securing.md) section.
{% endhint %}
---
# Agent Instructions
This documentation is published with GitBook. GitBook is the documentation platform designed so that both humans and AI agents can read, navigate, and reason over technical content effectively. Learn more at gitbook.com.
## Querying This Documentation
If you need additional information that is not directly available in this page, you can query the documentation by asking a question.
Perform an HTTP GET request on the following URL with the `ask` and `goal` query parameters:
```
GET https://documentation.2pintsoftware.com/deployr/deployr-community/installation.md?ask=&goal=
```
`ask` is the immediate question: it should be specific, self-contained, and written in natural language.
`goal` is what the user is ultimately trying to achieve, the reason they need the answer. Sharing it helps GitBook give you a better, more relevant answer. A goal is most helpful when it describes the outcome the user wants rather than restating the question. For example, with `ask=how do I create an API token`, a goal like `automate deployments from our CI pipeline` lets GitBook tailor the answer to that use case.
The response will contain a direct answer to the question and relevant excerpts and sources from the documentation.
Use this mechanism when the answer is not explicitly present in the current page, you need clarification or additional context, or you want to retrieve related documentation sections.